Saturday, April 28, 2012

Contessas Wen. class

       Oh what a hoot class was, everyone was on a roll. Kathy was trudging along like a trooper, and the Pitas, well they were all being PITAS. LOL. This is a wonderful kit, even though I haven't gotten mine yet (Thanks Post Office) I decided to go ahead and make one for me. I really loved the Tre Chic paper Kathy was using, and I know I had bought it so went to get it out, I think the neighbors heard me, I had only picked up the solid papers of it. GRRRRRRRRRRRR!.
       OK I think to my self I have plenty of paper,(I only have a closet full) so I go through pick out a wonderful collection. K&Company specialty Paper (Susan Winget) It's not normally a paper I would pick for myself, as I don't like yellow, or greens, but this paper called to me, I just hope there is enough of it to finish this project, it only has 28 sheets in it, Cause it's double sided. So here's hoping
     I also didn't have the closure that Kathy had, So off to Joann's for the magnetic closures, "did I say I had already matted the outside of the case?". Man I had to rip a little bit of the paper off the front to put in the closure and then patch it up, Ugh it looked awful, but I wasn't going to let it beat me.
     So I left the room, played with the cat, came back, and the first thing my eyes saw was LACE. YEAH I can make this work yet. So on with the lace, on with the lace( isn't there a song out like that?)
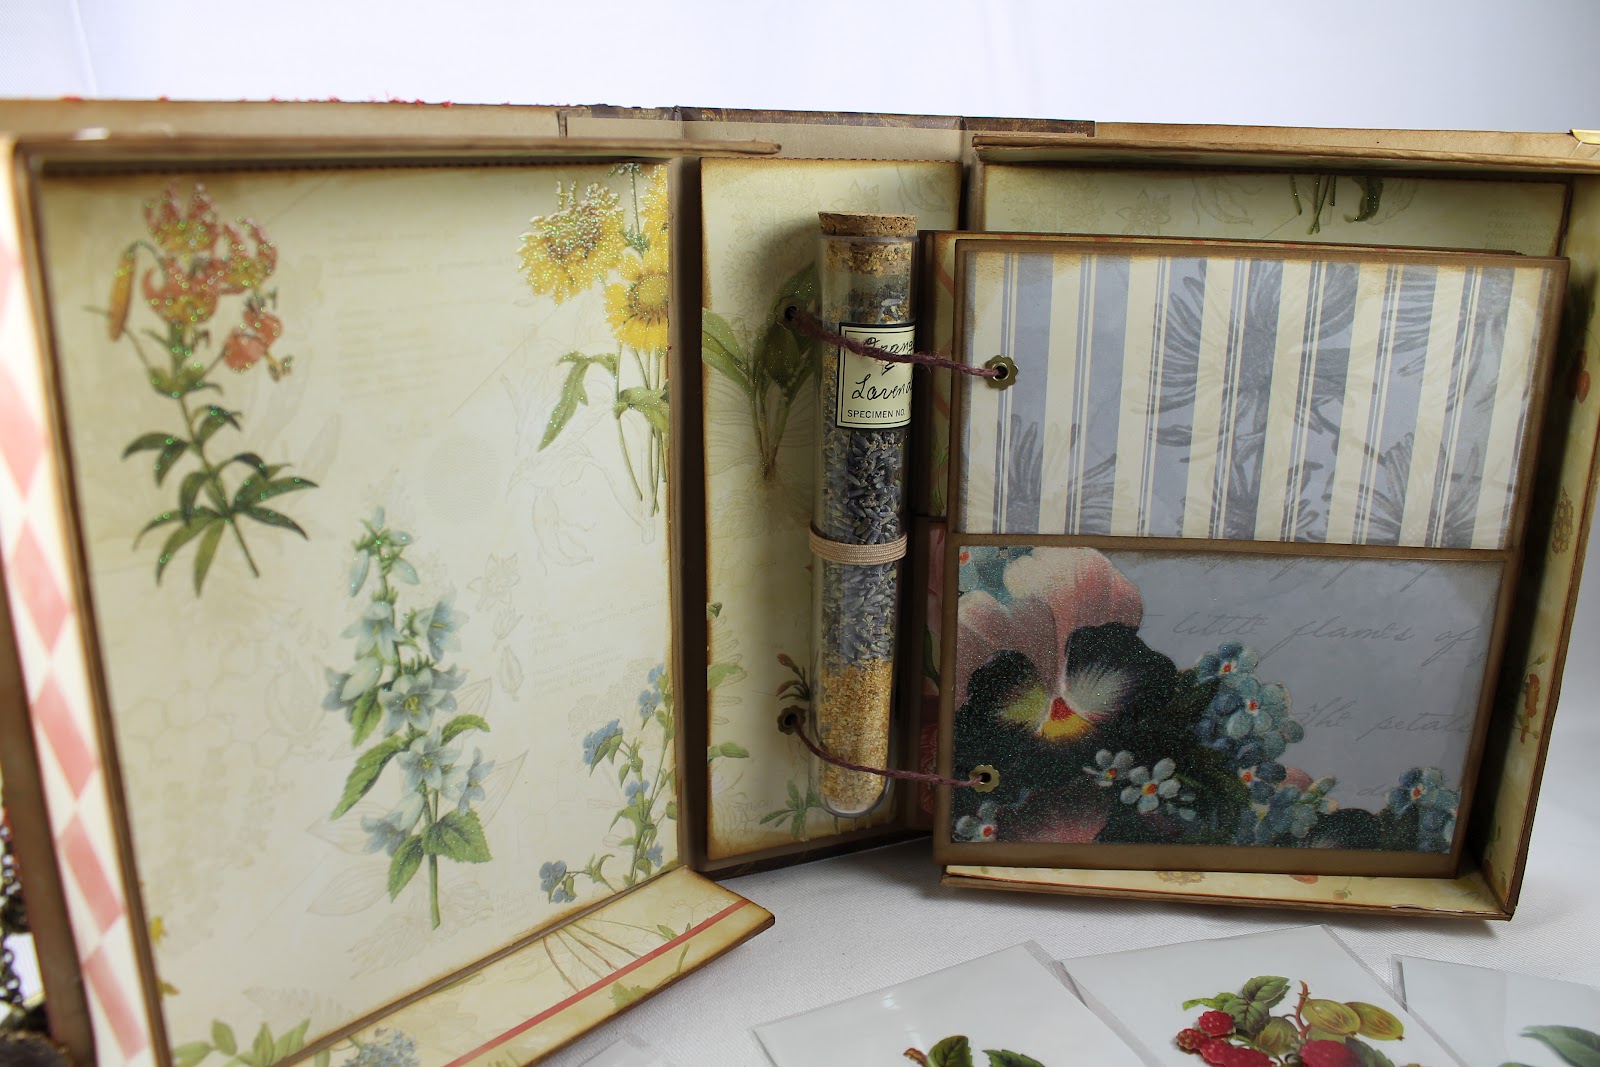
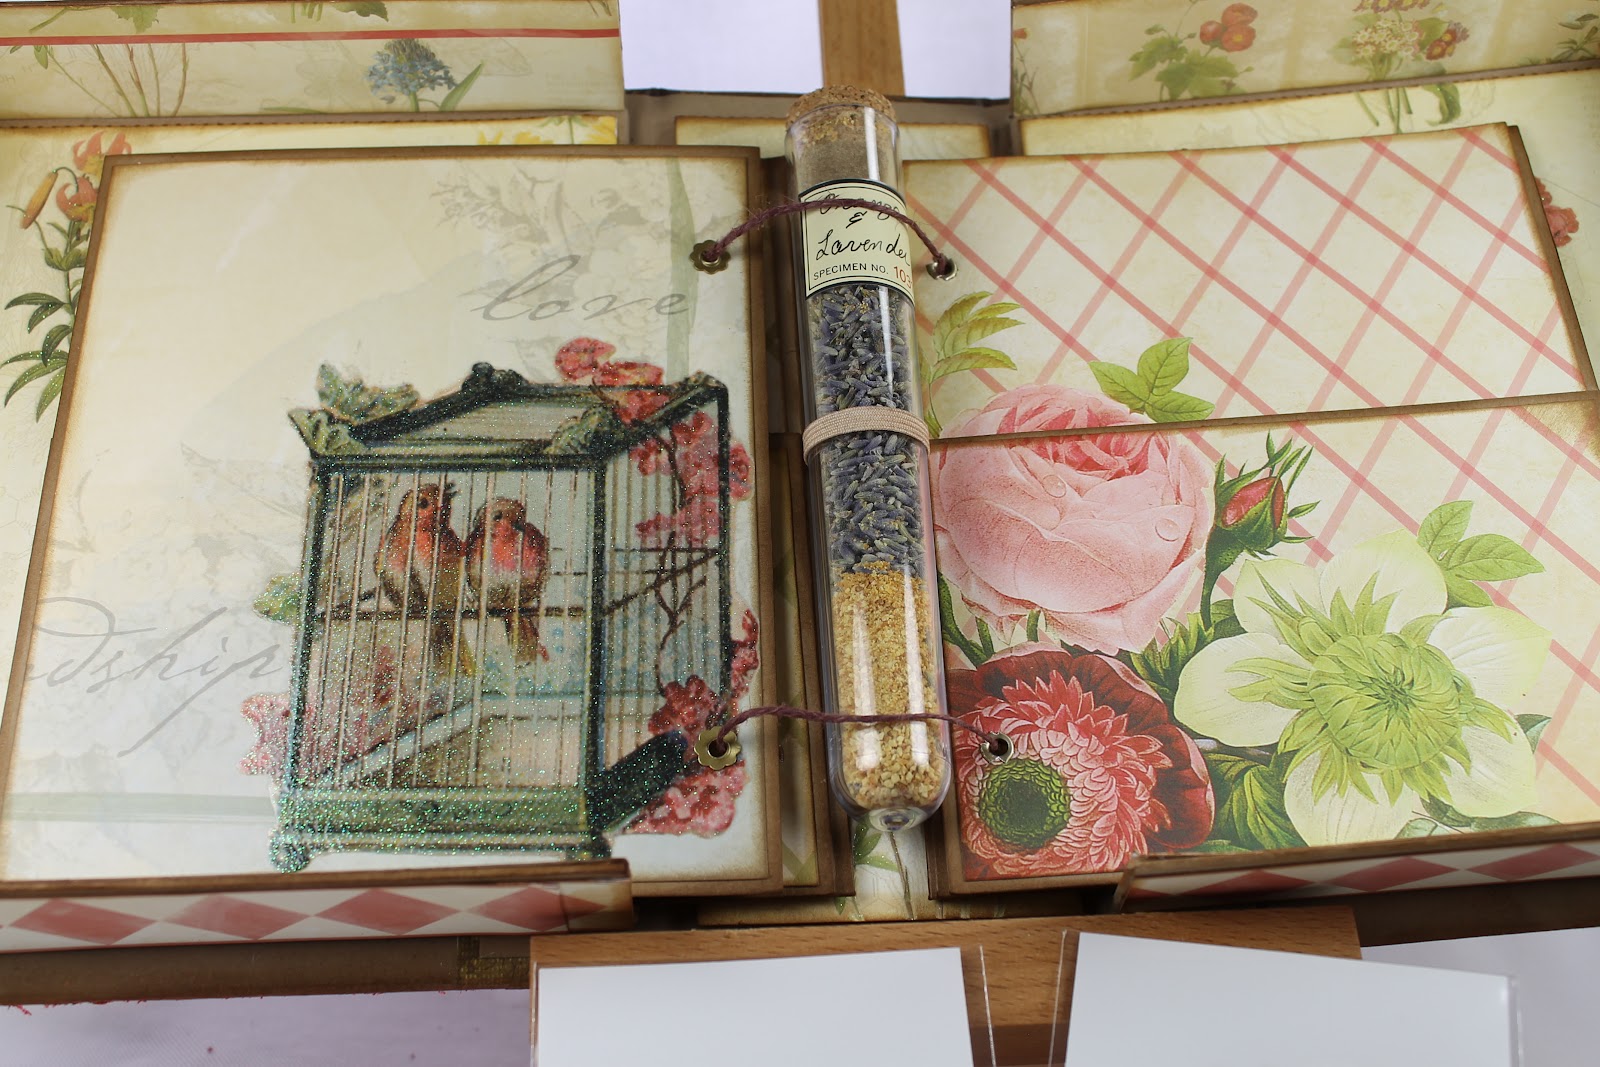
And here's what the base of the case is looking like.


                                        I haven't attached the cameo not sure yet might need
                                                               a bigger one or not

April's bonus project


The bonus project for Aprils' paper phenomenon kit club, is a type of wallet. I really like this one. So I made one all except for the closure. I still have to get those. Then I showed it to my husband and he proceeds to tell me, that I need to change the dimensions to fit within the inside pocket of his jacket, so that when we go on a train trip he can put our train tickets, and incidentals inside of it,to keep it safe. Below are the pictures of my first wallet, and then the wallet I made with the new dimensions. Our train tickets should be safe in this beauty.


On the inside left. It has pockets for two credit cards and on top of those pockets,one for several business cards. On the right-hand side is along slotted pocket for receipts and incidentals. It also has a mat that could be written on with white ink pen or pictures adhere to it. The center pocket. I added accordion thingies so it would spread out a little bit and be able to insert and retrieve the tickets easier.On the front is a stamp that I distressed that is one of Tim Holtz, and I'm pretty pleased with how this one turned out.


Monday, April 23, 2012

One little tag


Here's a little tag that I did for a swap at little scrap of heaven. It was really hard giving this one up it turned out so well. And so with this picture added, this gets me all caught up with the photographs of my finished project. I do have a few more finished projects, but I need to get pictures taken of them. But for now I am finally caught .up

Okay did I say how much I really liked this tag. And I know that it I went to try and do it again it would not turn out this way. But mom always did say never give away anything you wouldn't want yourself.


Almost caught up with all my pictures

Here's another craft that I've worked on lately. It's, a fascinator. Sort of a fancy name for a small hat on a headband. This is one that I made for my granddaughter.
And who could forget the baby of the house he has to have his fascinator also

OOPS can you tell someone's getting a little agitated

or maybe he's just so embarrassed Mommy please make it go away.
He he he he he

Stick pins again

 Making stick pins again, and I sort of got carried away with it. Here are some pictures for you to gaze at.
So, can you tell that there is a reoccurring theme. It's called glass beads, feathers and roses.

Okay, I did say mixed-media

So now it's time to show you my mixed-media projects. They are miniatures just about 3 inches in width. It was quite fun making, but very messy. Messy is a good thing, isn't it.

These are made from using pages of an old book, glue, , a face mold, translucent paints, and I also used a decorative napkin, and lots of feathers and bling This was  a class that I took online from a website space called roses on my table. She shows you how to use a full half mask and gives you ideals for other masks. But I thought it would be fun to make it into a miniature, and also she did not use the decorative napkins she let the books paper shows through.

My camera book

I made this book again using the soft bound II album, I just changed the paper out.
This one I'm going to use for pictures I've taken with my new camera. I really love this paper. Which is a Bo Bunny older line of paper . The only problem I have, after making these books, is that I don't want to put pictures i it and  mess it up. I've got to get over the that .


another book

This was another Paper Phenomena project. It was call I put a spell on you. But I decided to make it a botanical book I think it turned out good.
I put some red flocking on this,and also put a frame that I got at Michael's craft store. then I put a moth in it and filled it up with glossy accents and crackle.


 the next few photos are of the matting of the pages

 This is showing some of the 3D stickers that will go onto some mats that go into the pages. Just love them


In the center of this album is a space for a test tube,I have put ornge peels, and lavender buds, looks pretty good.


Betty bee's classes

Here are some pictures of a couple of classes which we had done at Betty Bee's UStream classes. We had a lot of fun with them.

 This is the bunny project,I did mess up the alignment a bit so what I did I took a big button in between the paws to hide the bit of a differnce.I think it makes it look like apull toy.


And this was a cricket 101 lesson you cut the hearts and tags and letters,to make a banner. They used the word Love but I did the word create. Then to decorate the tags I made some micro flowers. I really like how this turned out.