Thursday, May 24, 2012

Yesterday was a pretty good day

     So yesterday without any interruptions, I was able to finish up two masks, and the gas pump, which is a class from paper phenomenon. The Harlequin looking mask, I believe, was the hardest to get done. It took several different techniques before it really started looking good to me. So, the end results are as follows.


                                          The red one has, hand strung glass seed beads.
                                                   I'm calling this one  Fire & Roses ..
                                                     The roses are at each temple area.
                                                      And are the same fiery red color .
                                           I'm showing both side views and a front view.


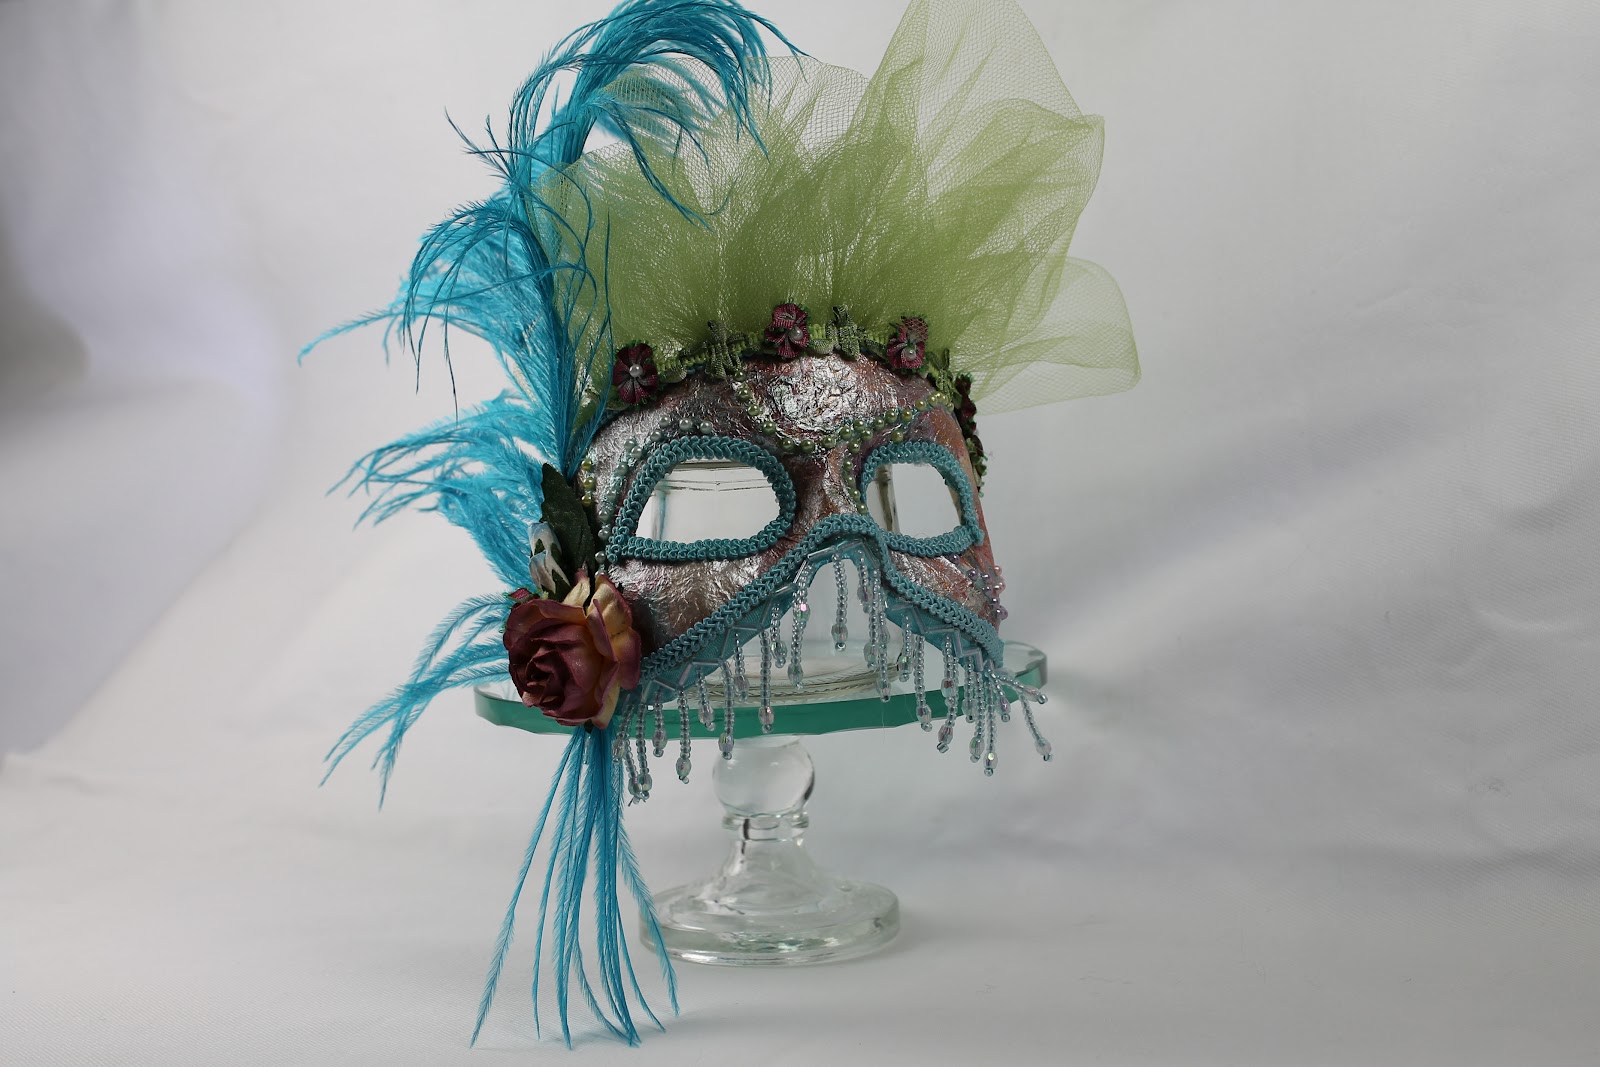
 This one I'm calling Harlequin Etiquette.
  the picture really doesn't do it justice,
  as both the red and the greenish black areas are glittered with a high polishedglitter
 And just sparkles and shines.
  with the feathers atop the crown this particular mask
 looks the prim and proper guest in high society .


                                                 And here are pictures of the gas pump
                                                     A project designed by Kathy Orta.
                                                   This projec is one that my husband is proudly
                                                             displaying on his dresser top


 This is a close-up of the gas pump backside clock.
 it was extremely difficult to decide which side, I was going to use as the front .
I decided this one for the back . Even though The crackling effect is really awesome on this piece .


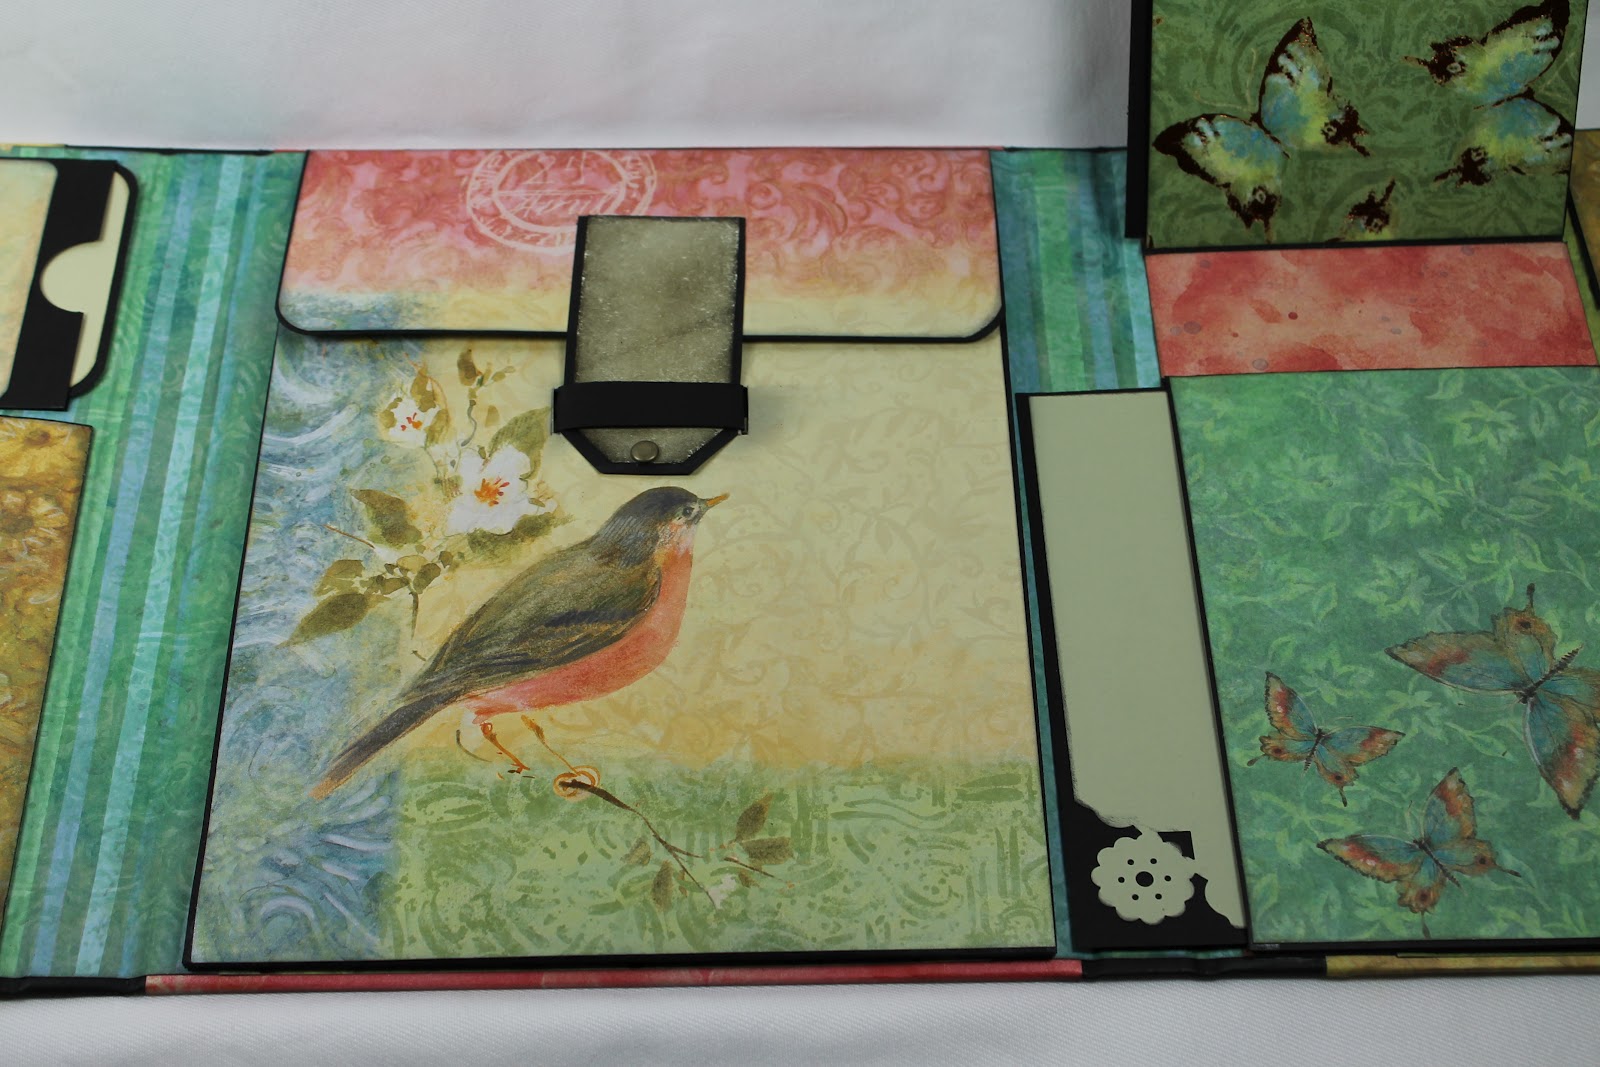
                             The picture below is showing the matchbook style album .                                        
                                                      They go inside  the drawer of the gas


  then I also finished off a project that the gentleman crafter  had posted on his website .
it's a gift card explosion box.
. So here's what So here's what.


 On that's it for right now thanks for stopping by, I hope you enjoy looking at my projects .


Monday, May 14, 2012

So addicting

This is another mask that I made but this time I made a shadowbox to put it in.
And if that wasn't enough I had to make a little holder for a light that we shine up through the mask, it is so way cool. This particular one is going to a swap partner.


Now this one is definitely my all time favorite. I call it. Crystal ice. The fringe that you see on it, are hand strong, with a mixture of winter mix glass seed beads. That was the longest part of making this particular mask, stringing of the beads. Once the beads were ready and the mask frame was dry. I just started pulling things out and putting them on to the mask and this is the end result, don't you just love.

Timeless moments

Via lessons at paper phenomenon, I made the project timeless moments. I did it sort of steam punkish type version and here are those pictures. Also the pictures of the inside mini album. Which goes inside of the clock.


                                  The Picture mats that you're seeing in various sizes are little picture frames that came with the paper pack ,. I turned them into interactive trifold and single mat picture frames I put backing onto each frame , but, but only sealed one side . That way the receiver of the book, can put peel off the other three sides of the adhesive and insert their own pictures. All the extra tiny little mats and tags have been backed and will be included in with the book so that the receiver can also put those wherever they want to .


Contessa is now officially finished

   Well I finally finished Contessa. And I think it turned out fairly well. I had a lot of fun with this project. I didn't use the paper that came with the kit. I'll find something to use it for later. So here are pictures of my Contessa

 
Here showing the case fully opened and an other place for photo Matt journaling picture, then showing that section open and a trifold journaling mat

Picture  showing the center of the case which is another place for journaling and pictures also to the left of that area is three other journaling picture area. Sort of like a waterfall arrangement, picture  showing the three tiny pockets opened and little journaling mats inside. I am really liking this paper, in an earlier post I showed the outside of the Contessa case., I believe this project. I'm going to keep for myself.

.

Tuesday, May 1, 2012

At it again

Yesterday seemed to be a very productive day. I got a mask finished, that I'm going to send my swap partner in the Mardi Gras swap that I'm in. Plus I have four new stick pins done.


                                                 One must always have roses and feathers
                                                  Trying to seam binding bow on this one

                  On the mask. I was trying for a color combination, I would normally not use. B B since this is a for Mardi Gras, you can just about get away with anything. The swap is for three stick pins and a chunky charm. I always like to add a little something extra, and that's where the mask comes in. I have not gotten pictures of the Mardi Gras stick pins yet, I will get photos of them later, and  post them, but I would at least like to get the package out to my partner before doing that.
                     The stick  pins I really enjoy making, are more Victorian looking, and I really love the  one with the tiny birds.
                        Today is laundry day so I've just been getting the pictures done, and distressing, and  matting the book the goes inside  timeless memories, when I get the book finished, I will then post pictures of the book and the clock.
                               So that's about it for this post. Catch you all later .